6 November 2026 · Soldr
Using AI to write Arduino code: a workflow that doesn't fry boards
Short answer: use AI for the whole build, not just the sketch. Describe what you want, check the parts and the power before you buy or wire anything, wire with the power off following the steps, flash a hardware test sketch to prove the wiring, then flash the full code and change one thing at a time. Connect the battery last.
AI can write Arduino code quickly. The boards that get damaged aren't usually damaged by bad C++; they're damaged by a wire in the wrong place, a part on the wrong voltage, or a supply that was never checked. This workflow puts the hardware checks first and the code last. We'll follow one real build the whole way: a flame alarm on an Arduino Uno, with a KY-026 flame sensor, an active buzzer and three red LEDs.
Step 1: describe the build, not just the code
Say what it should do and what board you have, in plain words. "I want to build a flame alarm with an Arduino Uno" gives the tool enough to pick parts and pins. Asking only for "Arduino code for a flame sensor" leaves it guessing at your hardware.
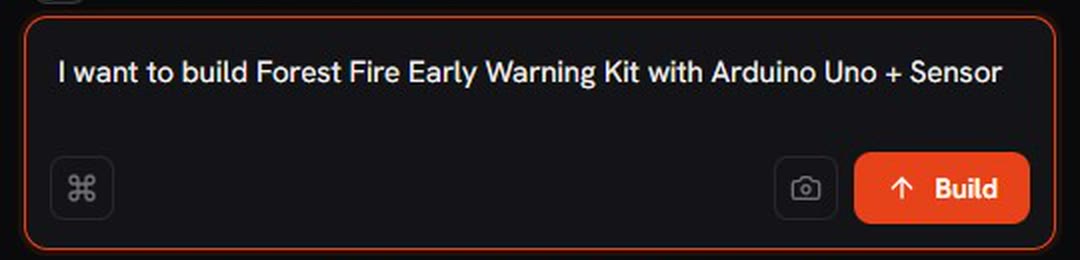
Already have some parts? Say so, and they're used instead of new ones.
Step 2: read the parts list before anything else
Check that every part is a specific module you can buy, and that the reply says what each one is for. If you're using a kit, check the list against your box. In our build: Uno, KY-026 flame sensor, active buzzer, three 5 mm red LEDs, 220 Ω resistors, a breadboard, jumpers and a 9 V battery snap.
Step 3: check the power before you wire
This is the step most people skip, and the one behind most mystery resets. A good tool adds up what each part draws and tells you what it doesn't know.
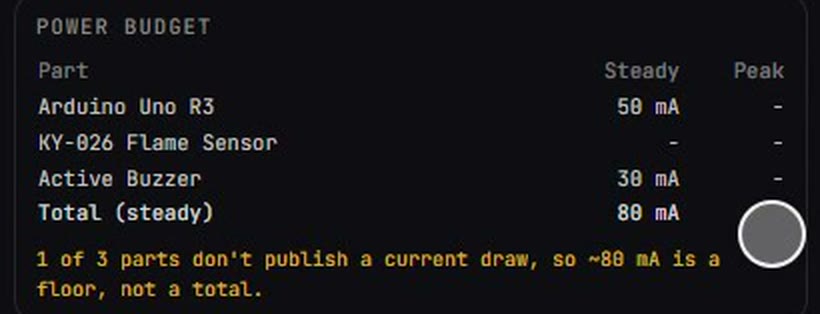
Here, about 80 mA steady, flagged as a floor, not a total, because the flame sensor doesn't publish its draw. That's an honest answer, and it's the right kind: you know there's headroom to check. Motors and servos are where this matters most; read why a board reboots the moment a motor starts.
Step 4: wire with the power off, one step at a time
Unplug the board before you touch a wire. Follow the steps in order: ground first, then power, then the signal pin. On the Uno each LED goes through its own 220 Ω resistor, from Pin 4, 5 or 6 to the LED's anode, with the cathode to GND. Skipping that resistor is a classic way to damage an LED and the pin driving it.
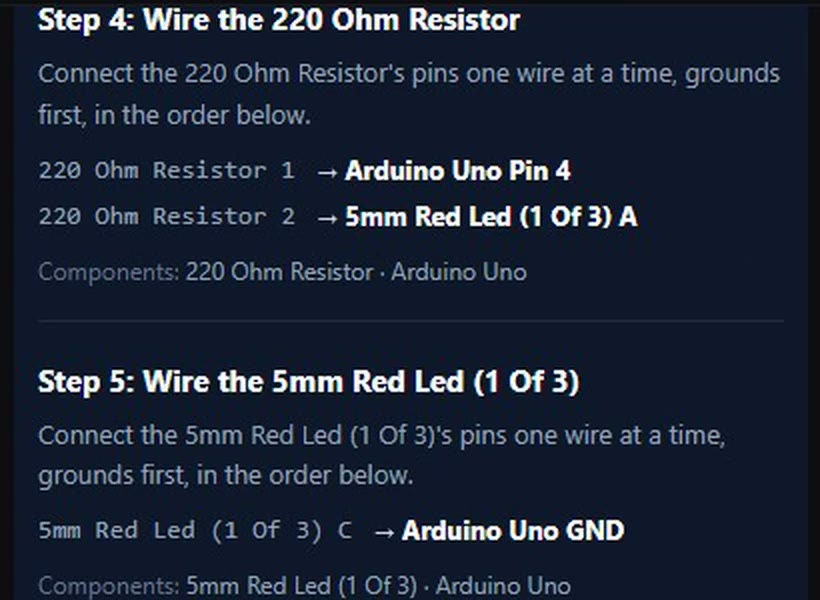
Not sure which pin is which? How to know which pin to use explains it, and a photo helps too: check your wiring with a photo.
Step 5: flash a test sketch first
Before the full project, prove the wiring. A hardware test sketch reads the inputs and drives the outputs so you can see each part respond. In Soldr, a guest gets exactly that: a free-preview test sketch that checks the parts in the build.
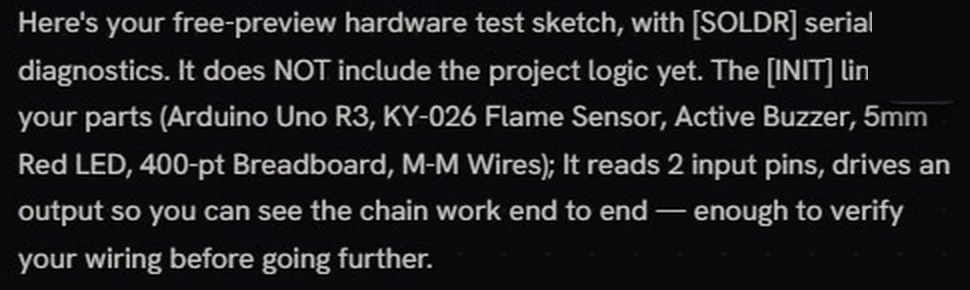
Open the Serial Monitor and read what each part reports. If a part is silent, fix the wiring now, while the code is simple. How to read Serial Monitor output helps here.
Step 6: flash the full code, then change one thing at a time
Sign in to get the full code for your build (sign in and get 100 credits free). Check that it compiles before you flash: Soldr compiles the exact sketch and shows the result. Then flash it from Chrome or Edge with no IDE to install, or download it for the Arduino IDE.
If something needs adjusting, change one thing, recompile, and test again. The Firmware tab is editable, so you can edit the code and recompile in your browser. Changing three things at once makes it impossible to tell which one helped.
Step 7: connect the battery last
Do all the wiring and the first tests on USB power. Connect the battery only when everything works, and check its polarity before you clip it on.
What AI won't do for you
- It can't see your bench. A tool can check that the plan is consistent; only you can check that the wires match it.
- It can't measure. Where a part publishes no current draw, the honest answer is a floor, not a total. Measure with a multimeter if it matters.
- It can't make a wrong part right. If your module differs from the one in the build, say so first.
The parts in this build
- Forest Fire Early Warning kit (Arduino Uno + flame sensor), with every part above in one box
- or the board alone: Arduino Uno R3
More: what to look for in an AI for Arduino coding, the Arduino code generator, and why a chatbot can't build your project for you.
Questions
Can I use AI to write Arduino code?
Yes. The code is the easy part; check the parts, power and wiring first, then flash a test sketch before the full project.
How do I avoid damaging my board?
Wire with the power off, use the resistors the steps call for, check logic levels and the power budget, and connect the battery last.
Do I need the Arduino IDE?
No. Soldr compiles the code and flashes supported boards from Chrome or Edge with no IDE to install. You can still download the sketch for the IDE.
What does it cost?
Questions are free; code and compiles cost credits. Sign in and get 100 credits free.
Describe your Arduino build on Soldr and follow the steps.