Docs / Designing the build
How do you know which pin to use — and why does it actually matter?
A generic wiring diagram tells you "connect the sensor to a digital pin." It rarely tells you which pins on your exact board are already spoken for, which ones need a specific voltage, or which one everyone gets wrong.
Why "any digital pin" is bad advice
Every board has pins that aren't actually free to use however you like, and a wiring guide written for "an Arduino" or "an ESP32" in general can't know which ones apply to your specific board. Three kinds of pin trip people up most often:
- Strapping pins — on boards like the ESP32, certain GPIOs are read at boot to decide how the chip starts up. Wire the wrong sensor onto one of these and the board can fail to boot at all, not just misbehave.
- Shared-bus pins — I2C and SPI devices share the same two or four wires across every device on that bus. Two I2C sensors at the same default address will not both respond correctly, even though the wiring looks fine.
- Fixed-function pins — some pins are the only ones that support a specific hardware feature (a particular ADC channel, a specific PWM timer), and picking a different pin for that role simply won't work, no matter how correctly it's wired.
Why this matters more than it looks like it should
None of these mistakes show up as a wiring error you can see — the wire is physically connected, the pin number in your code matches the pin you soldered to. The board just doesn't boot, or one sensor reports garbage while the other reads fine, or a PWM output does nothing. Debugging that after the fact means learning your board's constraints the hard way, usually after parts are already ordered and wired.
How wiring generated for your exact board avoids this
-
The board decides the map, not a generic template
Wiring is generated against the real pinout of the specific board named in your build — not a placeholder diagram for "a microcontroller" that you're expected to adapt yourself.
-
Reserved and strapping pins are avoided from the start
Sensors and outputs are assigned to pins that are actually free to use on that board, rather than pins that happen to be numbered conveniently.
-
Shared buses get distinct addresses
Multiple I2C devices on the same build are checked against each other's addresses before wiring is finalized, not discovered as a conflict after the first one stops responding.
-
The code uses the same pin map as the diagram
Because both are generated from the same parts list, the pins in your sketch and the pins on your diagram are guaranteed to agree — a mismatch between "what the diagram says" and "what the code assumes" simply can't happen.
A worked example
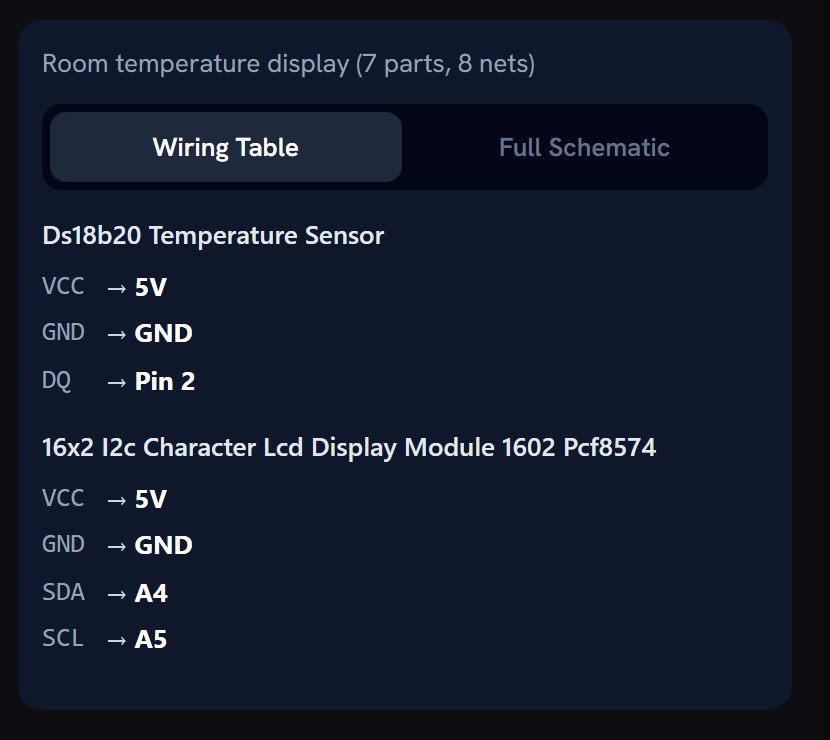
An ESP32-based build using two I2C sensors — a temperature/humidity sensor and a distance sensor — needs both devices to sit at different I2C addresses on the same two wires, and needs to avoid GPIO0, GPIO2 and GPIO15, which affect how the ESP32 boots if something is driving them at power-up. Generating the wiring against the specific ESP32 variant named in the build handles both automatically, rather than leaving either as something to discover once the board won't start.
| Part | Why it's there | Price |
|---|---|---|
| ESP32 30-Pin Development Board (CP2102) | the controller | ₹400 |
| DHT22 | first I2C-adjacent sensor in the build | ₹100 |
| HC-SR501 PIR Motion Sensor | second sensor, on a separate signal pin, not sharing the bus | ₹70 |
| Core of the example | pin conflicts avoided before wiring, not after | ₹570 |
What you actually get
A wiring diagram matched to the exact board and exact parts named in your build, with the pin decisions already made against that board's real constraints — not a generic diagram you have to cross-check against a datasheet yourself before trusting it.
If a pin assignment still looks wrong
- Check the specific board's own datasheet for that pin's function before assuming it's a mistake — some boards break out pins with non-obvious dual roles.
- If you're substituting a part after the wiring was generated, the pin assignment was made for the original part — a like-for-like swap in the same interface family is usually safe, a different interface is not.
- Still unsure? Describe the specific pin and what you expected, and it'll be checked against the exact board named in your build.