23 August 2026 · Bharat Raj · originally published on Compoden
The Ball Balancer Kit: PID Control You Can Touch
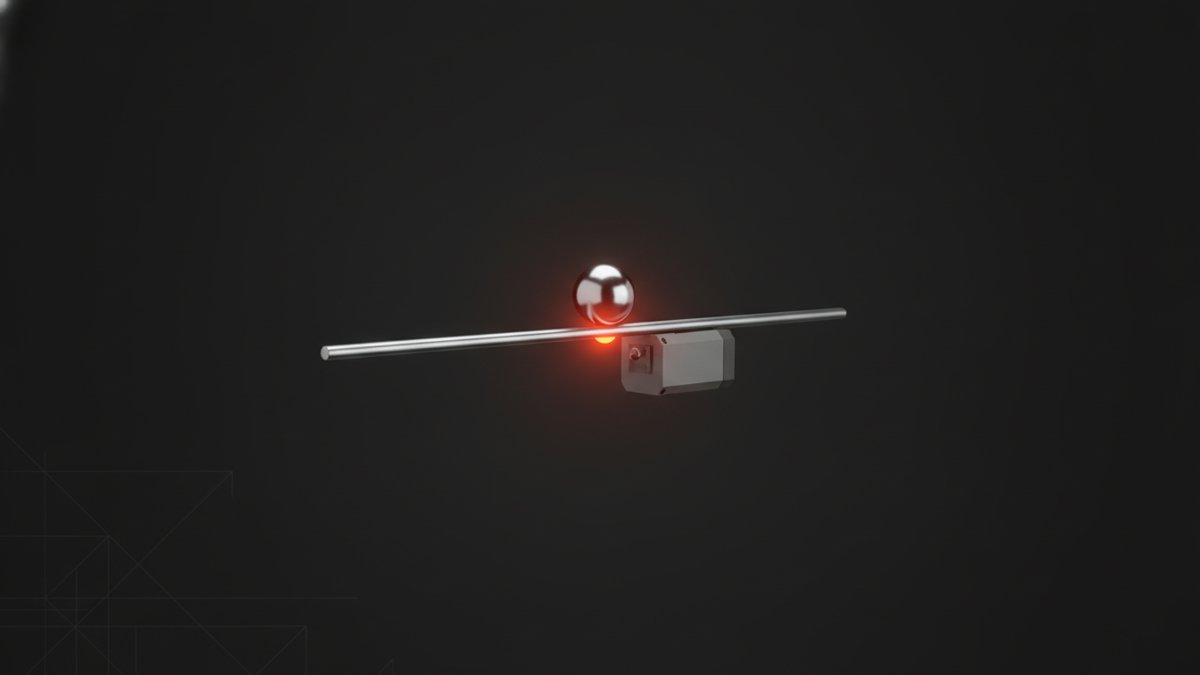
A steel ball, a tilting beam, a servo — and your code holding all three in equilibrium. The Ball Balancer PID Kit with Arduino Uno (₹2,660) builds a single-axis platform that senses position with an MPU6050 accelerometer-gyroscope, runs a PID loop on the Uno, and commands a high-torque MG996R servo to push the ball back to centre — even when you nudge it. This is an Intermediate kit with a 6–7 hour build that includes real soldering, and it exists for one reason: PID control is the single most-used idea in control engineering, and reading about it is nothing like tuning it on hardware that oscillates in front of you. Drones holding altitude, robots keeping posture, industrial processes staying stable — this desktop rig is the same mathematics made touchable.
What's in the box
Arduino Uno R3, MPU6050 motion sensor, MG996R high-torque servo, a 150×100 mm acrylic platform, a PCB prototype board, a 5V 2A power supply, resistors (4.7kΩ and 10kΩ), 100nF capacitors, M3 bolts and nuts, and 20 male-female jumper wires. The dedicated power supply matters — an MG996R under load draws more than a USB port should give — and the PCB prototype board is where the soldering happens: resistors, capacitors and headers go on it for a connection solid enough for a system that moves. The kit is offered with an assembly option: a soldering bundle (25W iron, solder, flux, perfboard) or a breadboard combo for solderless prototyping.
What you'll learn
- PID tuning on real hardware — proportional, integral and derivative gains stop being letters in an equation when wrong values make your platform visibly oscillate or sag.
- IMU reading over I2C — pulling MPU6050 accelerometer and gyro data and extracting a stable relative angle from noisy raw values.
- Closed-loop architecture — the full path from sensor input through control law to actuator output, the pattern behind every self-stabilising machine.
- Servo control with feedback — driving a high-torque MG996R precisely, plus the power and noise-filtering discipline that entails.
The build, honestly
Assembly — acrylic platform, servo linkage, soldered PCB — is methodical rather than hard, and the soldering guide includes a placement diagram suitable for first-time solderers. The famous difficulty is exactly where you'd expect: tuning. An untuned PID loop is dramatic — the platform slams side to side or drifts lazily off centre — and the fix is a structured process the kit walks you through: start with P alone and note the oscillation, add D to damp it, then add I to remove the steady-state error. A pre-tuned baseline sketch is included so you can see correct behaviour before customising, which turns tuning from guesswork into comparison. Budget your last two hours for it and enjoy them; that frustration-then-click is the entire point of the kit.
Who it's for — and who should skip it
CBSE Class 11–12 physics and CS students get a project that demonstrates theory their textbooks only assert; engineering undergraduates get control-system fundamentals made physical before exams demand them; hackathon teams and tinkering-lab facilitators get a ready-to-demonstrate mechatronics module. If words like "setpoint" and "overshoot" are on your syllabus, this kit is aimed at you.
Skip it if you haven't built anything with an Arduino yet — tuning is much more fun when wiring isn't also new. Our Obstacle Avoiding Robot Kit or Maze Solving Robot Kit are better first builds. If you finish this and want more axes and more math, the Hexapod Robot Kit's IMU-stabilised gait is the natural escalation.
FAQ
Do I need to solder?
Yes — resistors, capacitors and headers are soldered to the supplied PCB prototype board. The guide includes a clear placement diagram, and each joint is explained if you're new to soldering.
How do I tune the PID gains?
With a structured process: P only first, observe oscillation, introduce D to dampen, then I to eliminate steady-state error. A pre-tuned baseline code ships with the kit for reference.
Can I extend it to two axes later?
Yes — the skills transfer directly. You'd add a second servo and a gimbal structure; the firmware is open source and commented for adaptation.
The kit arrives pre-loaded in Soldr, our AI build assistant, which generates the wiring, the PID firmware and step-by-step tuning troubleshooting for this exact rig.